Getting started · 4 min read
Switch to a digital menu in five steps.
Setting up a digital menu takes less time than most owners expect. Follow these steps to go from your paper menu to a QR code on every table.
1. Start from your current menu
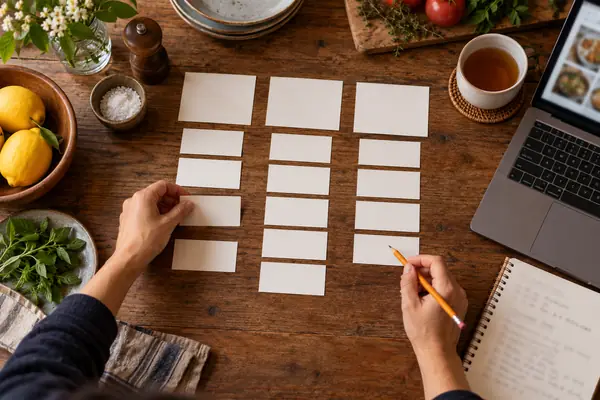
Don't start from scratch. Copy the categories, dishes and prices from your current paper menu the way your guests know them. You can rearrange things later – first make the digital menu complete and correct.
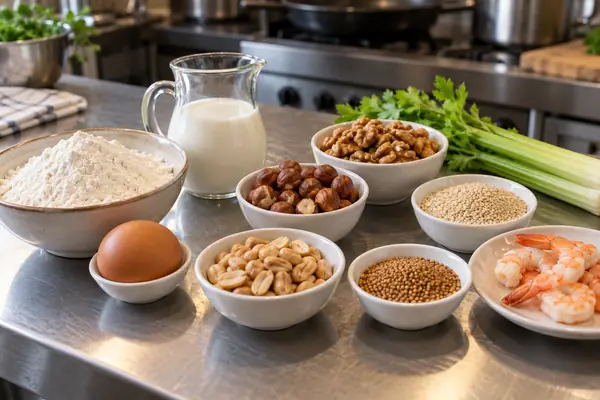
While you're at it, check your allergen information.
2. Try it without an account
In the try-out workshop you add categories and dishes without signing up. The draft stays in your browser. If you like the result, create an account and take the draft with you.
3. Pick a design and add images
Choose a design and upload your logo and a cover image. Dish photos are optional: a well-organized text menu beats a menu with inconsistent photos.
4. Review and publish
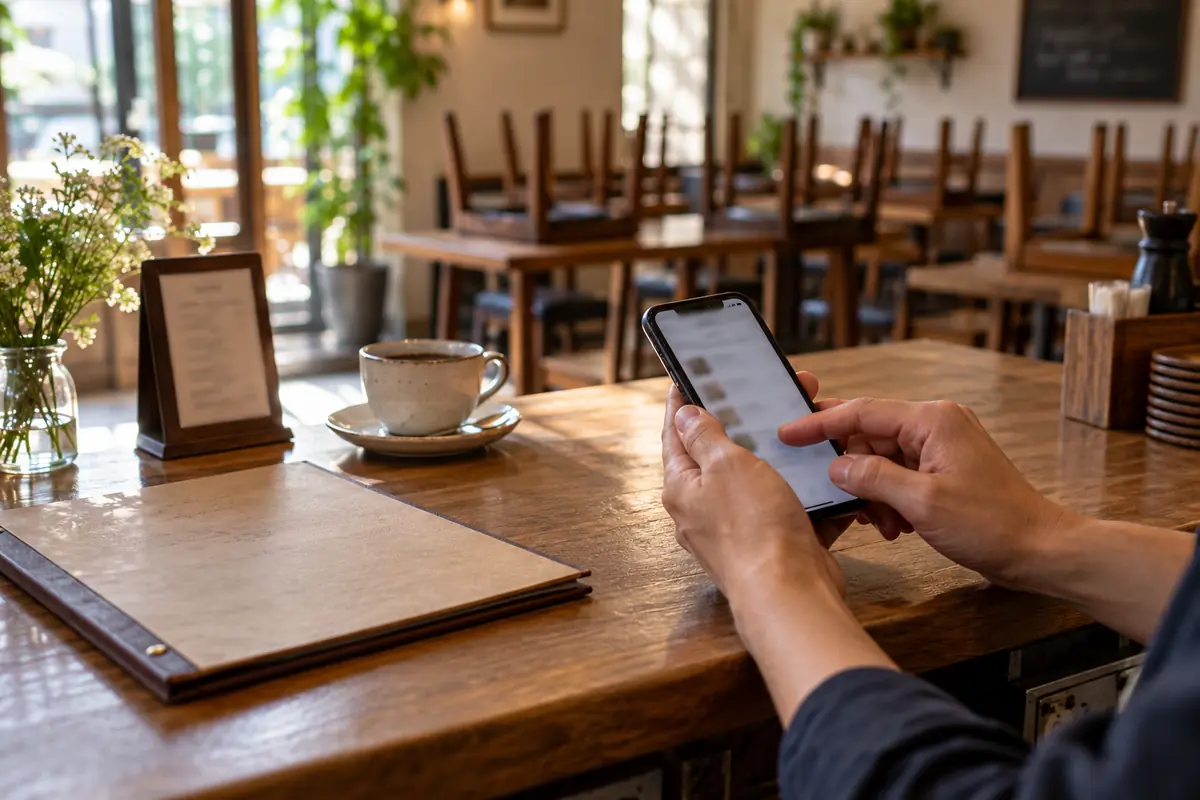
Check the preview the way guests will see it – ideally on your own phone too. Only the version you publish goes live. Later edits stay a draft until you publish again.
5. Download and place the QR code
Download the QR code as SVG for print or as PNG. It points to a fixed link that stays the same when you change prices or dishes. Test every printed code with several phones before you put it out.
- Table tents or stickers on every table
- At the counter or register
- In the window or at the entrance
Keep a few printed menus
Not every guest uses a smartphone. Keep a few printed menus on hand – the print view prints your published menu at any time.